Navigation Menu: Customers
TIP: For best results, use Google Chrome when working in the platform
When you set up a new customer, there are settings that need to be considered.
- Add Users (Assigning credentials for the Customer Portal)
- Set the Cloud Provider/Vendor Pricebook and currency by cloud vendor
- Set Custom Charges (i.e., support plans or global-level discounts and uplifts, if applicable)
- What support type are you assigning to your customer (if applicable)?
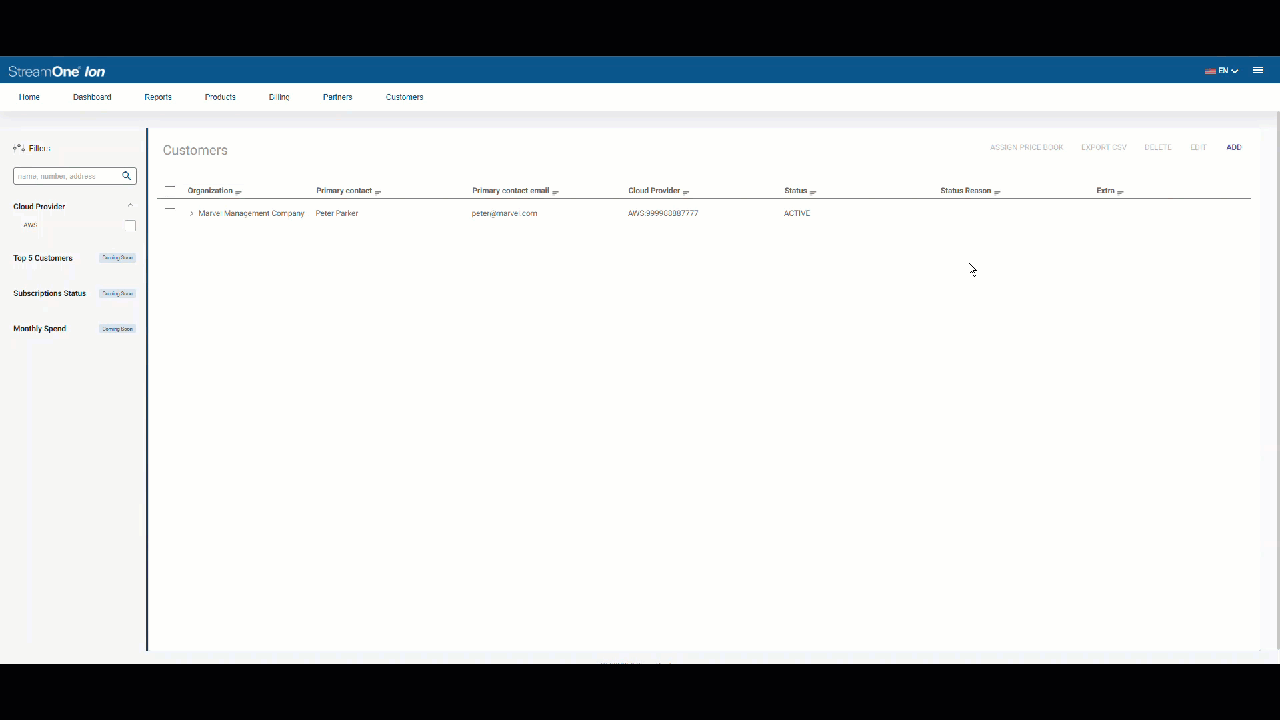
Creating a customer (from the Management Console)
1. From the management console home screen, select the Customer menu
2. From the Customers table, click Add
3. Enter the customer information in the Add Customer screen for all mandatory fields (noted by a "*").
4. (Optional for SaaS) Toggle on Enable marketplace threshold to set a budget for allowed purchases by the end customer for SaaS offerings.
5. When done, click Save
View of the Add Customer Screen
(1) The Enable Marketplace Threshold feature notifies the user who is modifying an existing subscription or buying additional products if they are over a set purchase limit for Microsoft SaaS only. (Optional)
(2) The Save option is active when all required fields are filled
Note: A warning message displays when a threshold is met. It does not prevent the customer from making a change or purchase. The feature is available for Microsoft subscriptions only.*For more information regarding addresses in StreamOne Ion, please watch the: Address Verification Brainshark Tutorial
Creating user(s)
Before you can place an order and before a customer can access the platform, a user must be created. Set up one or more users in the 'Users' table.
- To create a user, click Add.
- Complete all the fields (required as noted by '*')
- Click Save
Password: Enter any password you want. The customer uses the forgot password process to reset the one you entered during the initial setup.

View of the Add User Screen

Status: There are three options:
- Pending Approval (N/A. The platform uses this status when an end-customer resets their password via the end-customer portal.)
- Active
- Suspended
For more information regarding the Customer Storefront, please read: How Do I Find the End-Customer Portal URL?
Note: Whenever a new customer account is created on StreamOne Ion, a user will be immediately generated as the default setting.Enable Customer Access to Storefront (End Customer Portal)
You decide whether your customers can self-serve report data, create and add accounts, and subscribe. Double-click the cloud vendor name to enable it. The Edit screen appears. Toggle the Enable provider in the customer portal feature by using the slider. Save the changes. Repeat this for each cloud vendor you enable.

Note: When setting a pricebook for AWS, you see a custom setting, Pass RI Optimization. This option should be avoided. Your customer receives the benefits of RI purchases made automatically by platform logic. This setting flows through benefits that the customer does not own.For more information regarding settings applied to a customer profile, click on the links below:
- How to Request a New AWS Cloud Account
- How to Add or Link Existing AWS Accounts
- Creating New Azure Subscriptions
- Apply Support Plan Settings
- Setup and Manage Customer End User Access
To submit a support request in StreamOne Ion, click the "?" icon in the upper right menu bar or click Submit a ticket in the Knowledge Base. Fill out all mandatory fields or read How to Use StreamOne Freshdesk to Submit and View Support Tickets for more information.