Navigation: Settings > Cost Management > Cloud Account Fields
Overview
This article explains how to use the Cloud Account Fields to tag capture data related to a specific subscription, account, project, etc. These fields can be used for IaaS and SaaS.
Cloud Account fields appear as a filter option in the Dashboard, in the Customers > Client screen area under the "Custom Fields" section, and can be set as a option to add to a report (as a column heading) when exporting data via a CSV file format.
Create a Cloud Account Field
To create (add) a Cloud Account field, follow these steps:
1. From the Settings module (or menu), scroll to the Cost Management section (bottom-left), then click on the Cloud Account Fields menu option
2. Click Add
3. Enter a name for the cloud account field. This field accepts alphanumeric characters, is limited to 255 characters, and does not allow spaces. You can use the ‘_’ symbol to separate the words in this field. The name field displays as the column header in a custom report.
4. Enter a label for the cloud account field. This label name displays in the cloud account pop-up window.
5. Use the toggle to control if the field is available for reports. The default setting is 'ON' for Include in Billing Reports
6. Toggle 'ON' Show in 360, if you want to see the data in the data in the Managed Products section of a Customer profile
6. Click Save
6. Repeat steps 1 through 5 for each custom field you want to create.

Screen 1: Available Toggle options
Screen 2: Illustration of "Show in 360" cloud account fields when toggle is set to 'ON'
Edit a Cloud Account Field
To edit a Cloud Account field, follow these steps:
1. From the Settings menu, navigate to Cost Management and select the Cloud account fields menu
2. Select the custom field you want to change
3. Click Edit
4. Modify the field name
5. Click Save
Delete a Cloud Account Field
To delete a Cloud Account field, follow these steps:
1. From the Settings menu, navigate to Cost Management and select the Cloud account fields menu
2. Select the Cloud Account field you want to change
3. Click Delete then click Ok on the confirmation window popup
View the Cloud Account Field
After you create your cloud account field(s), you add data by following these steps:
1. Select the Customer module
2. Select a customer then click Edit
3. Scroll to the Cloud Billing section of the client screen, then select Cloud Accounts
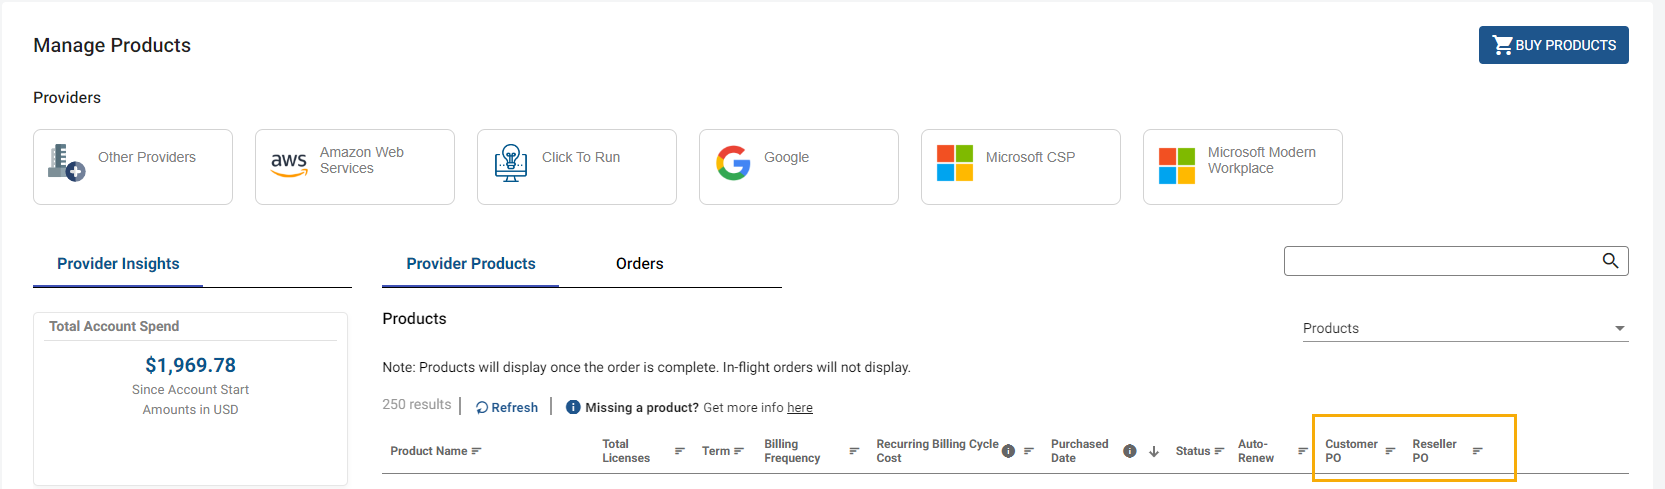
4. From the list of Cloud Accounts, click on an item in the list. The Cloud Account dialog window displays with several setting options. Custom Cloud Account fields are after the Price Book setting dropdown list.
5. Enter values in the cloud account field(s)
6. Click Save

(1) This section shows an example of custom cloud account fields unique to your ION account. If no custom field are created in the management console, the only cloud account fields you see are the default fields noted under item (2)
(2) This section shows default cloud account fields which display during the buy process for a product. You can change PO reference data at any time after the purchase of a product in this screen.